
Cosplay Progress: Celine Jules, part 2!
So I’ve made some more progress on my Celine cosplay. As of my previous post, I hadn’t finished my muslin mockup. I wanted to wait and try it on with the invisible zipper I ordered from Mood. The zipper arrived late last week, so I spent the better part of last Friday night finishing up my mockup.
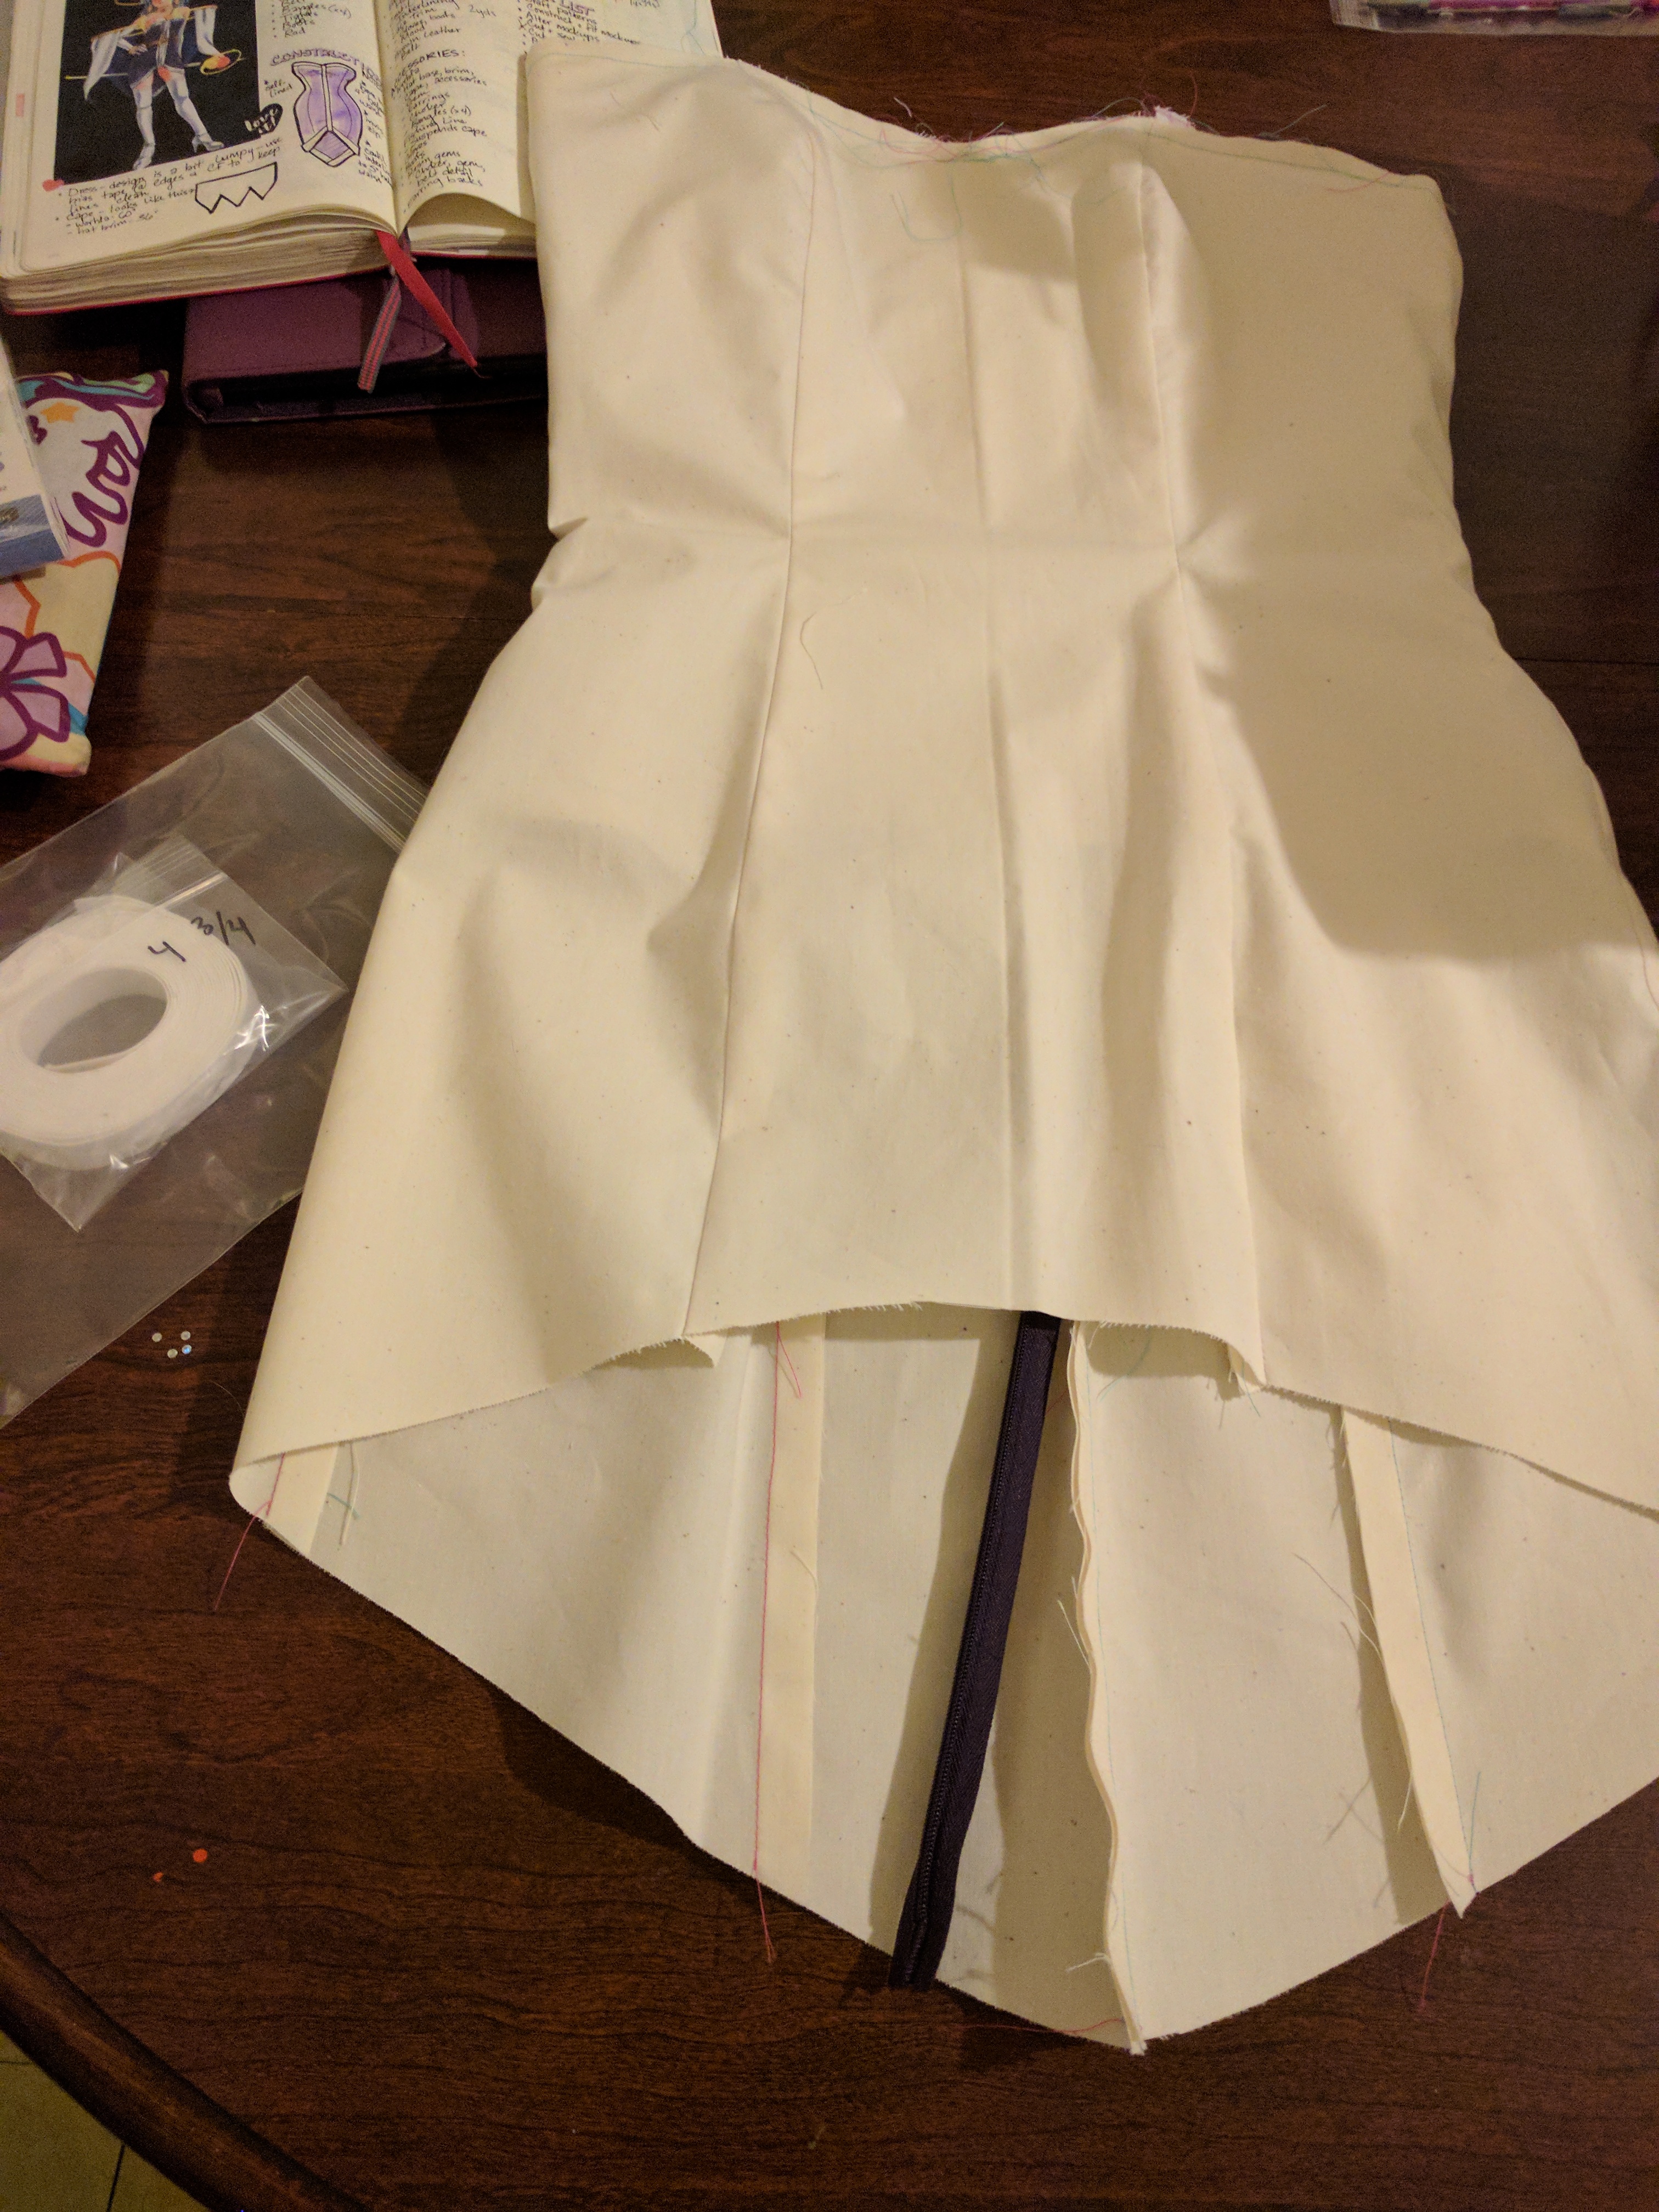
Even before trying it on, I could already tell that the hem was going to be too short in the back. But hey, that’s why I made a mockup first. I also ended up having to make some alterations at the neckline and hips.
Pattern Alterations
It’s pretty easy to lengthen the hem of a pattern, even if you don’t make your own patterns like I do. Here’s a quick step by step explanation of how I did it for this costume.
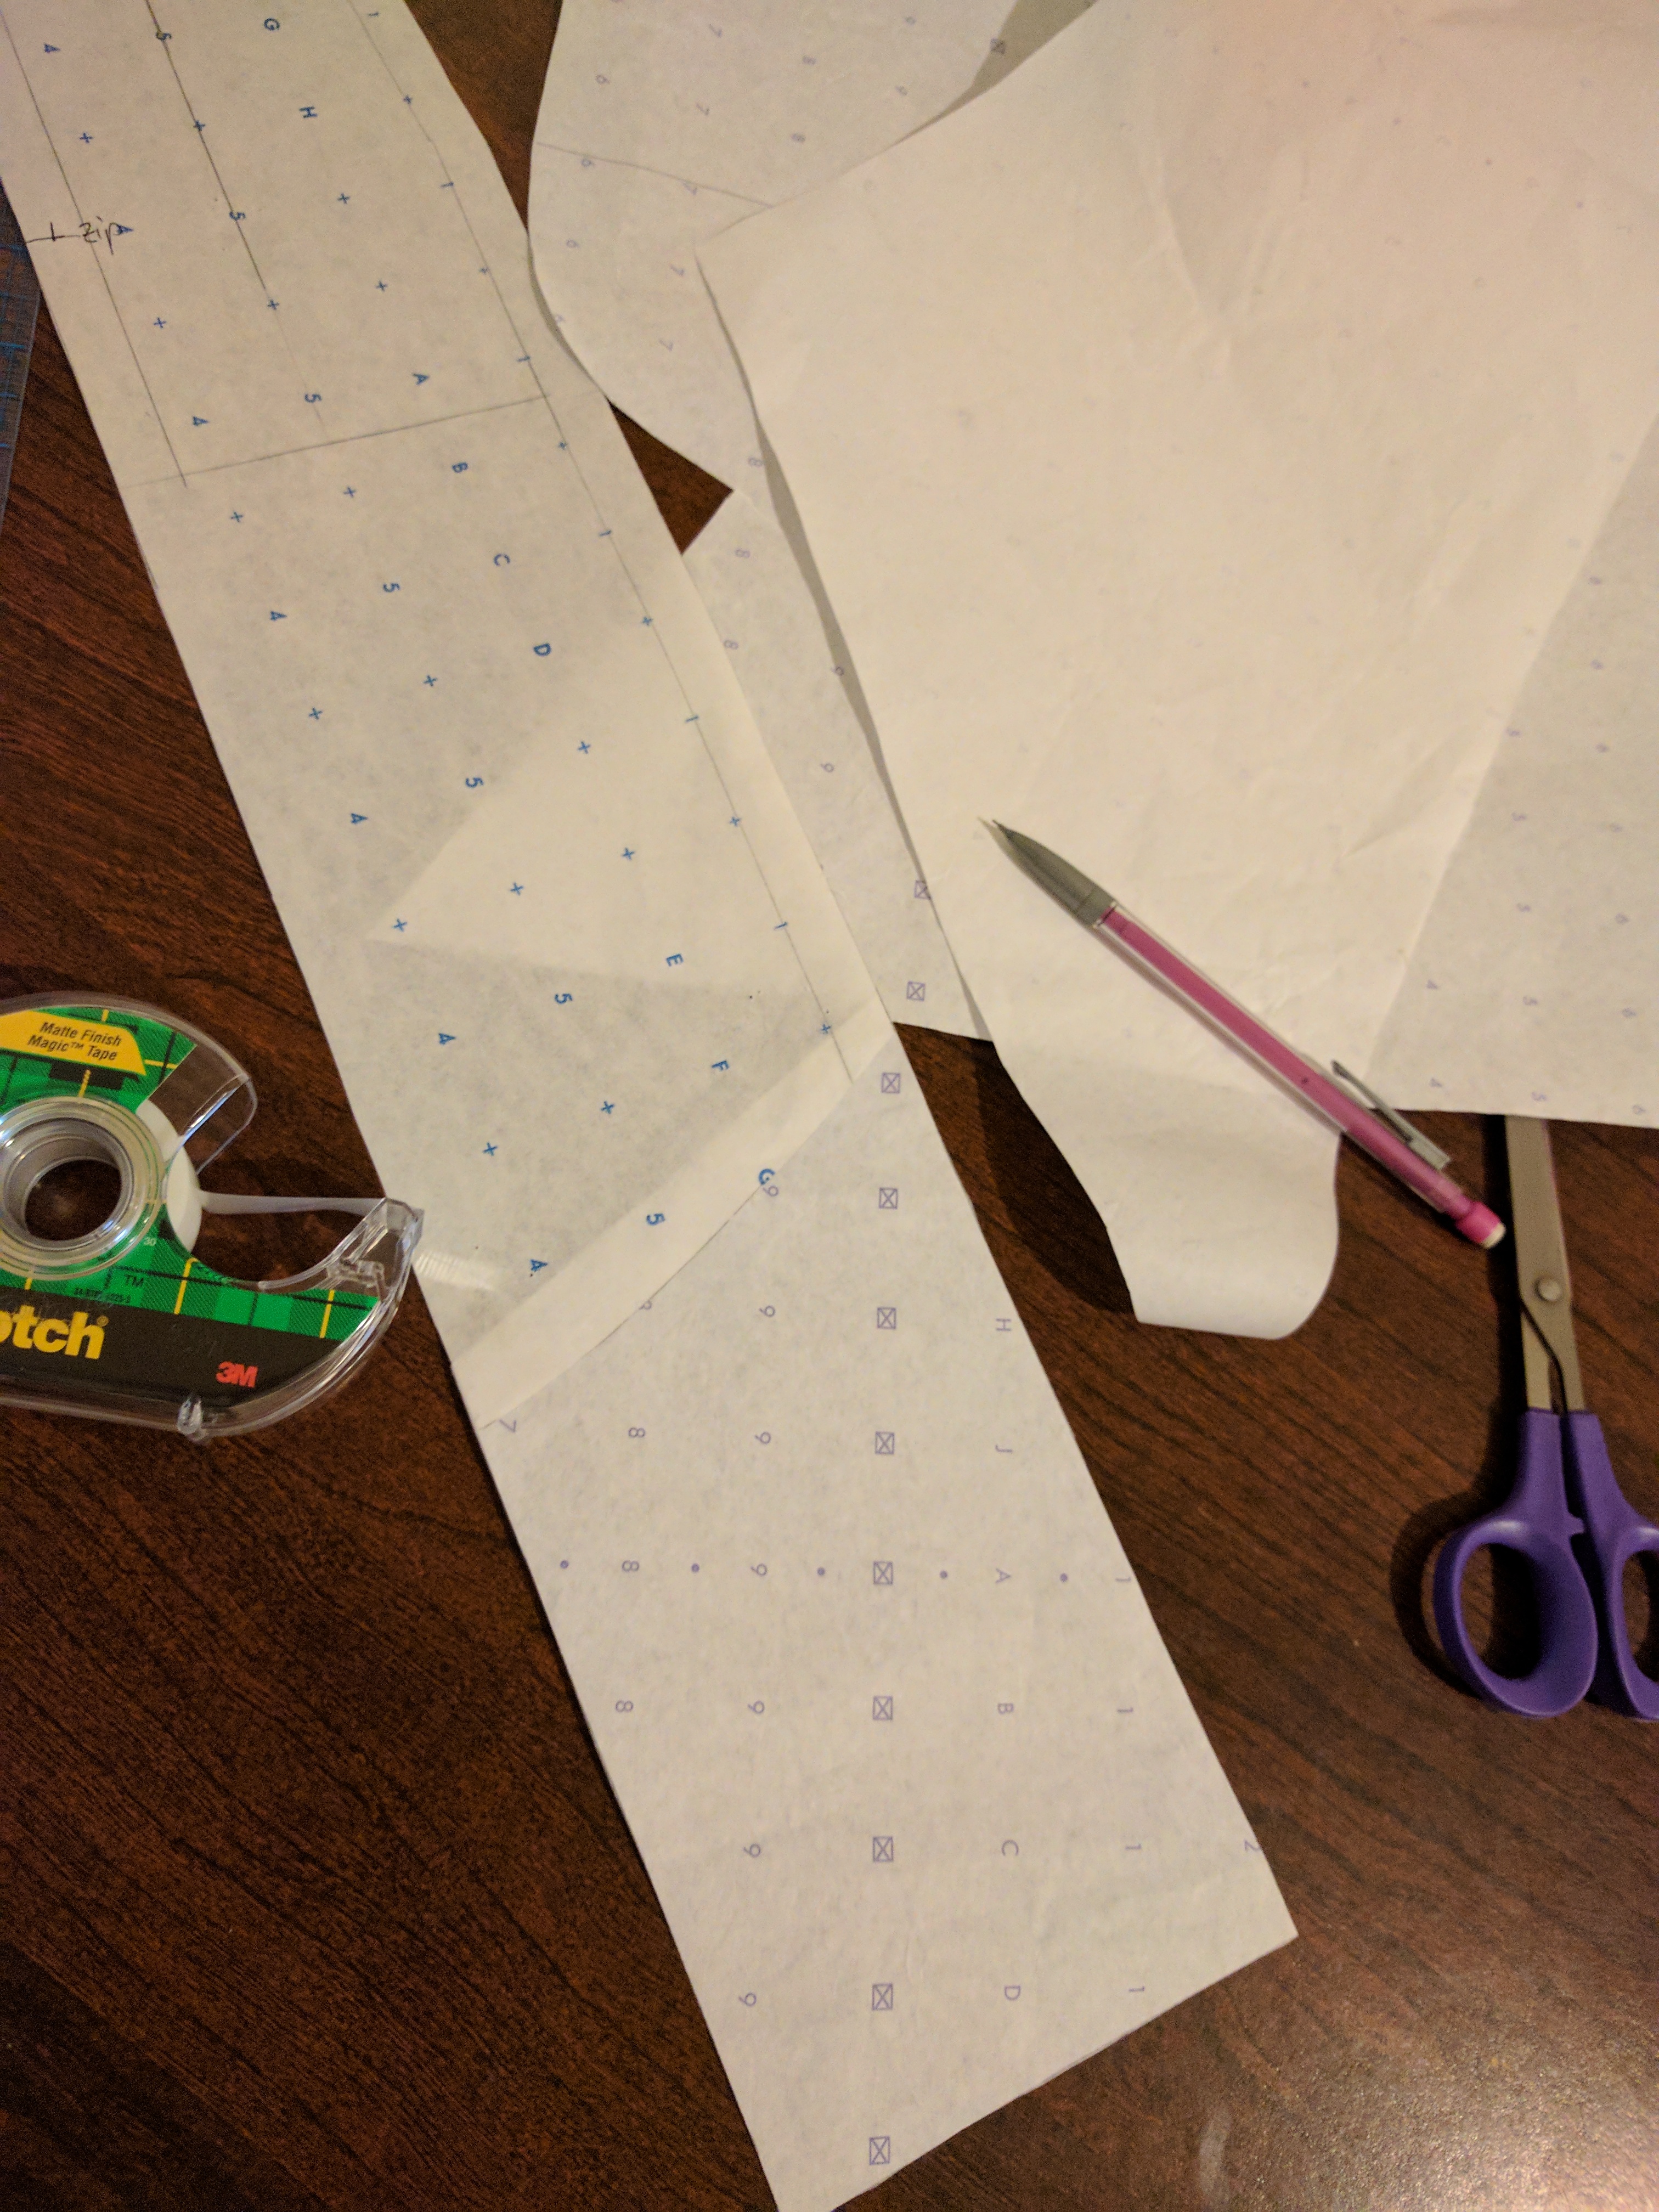
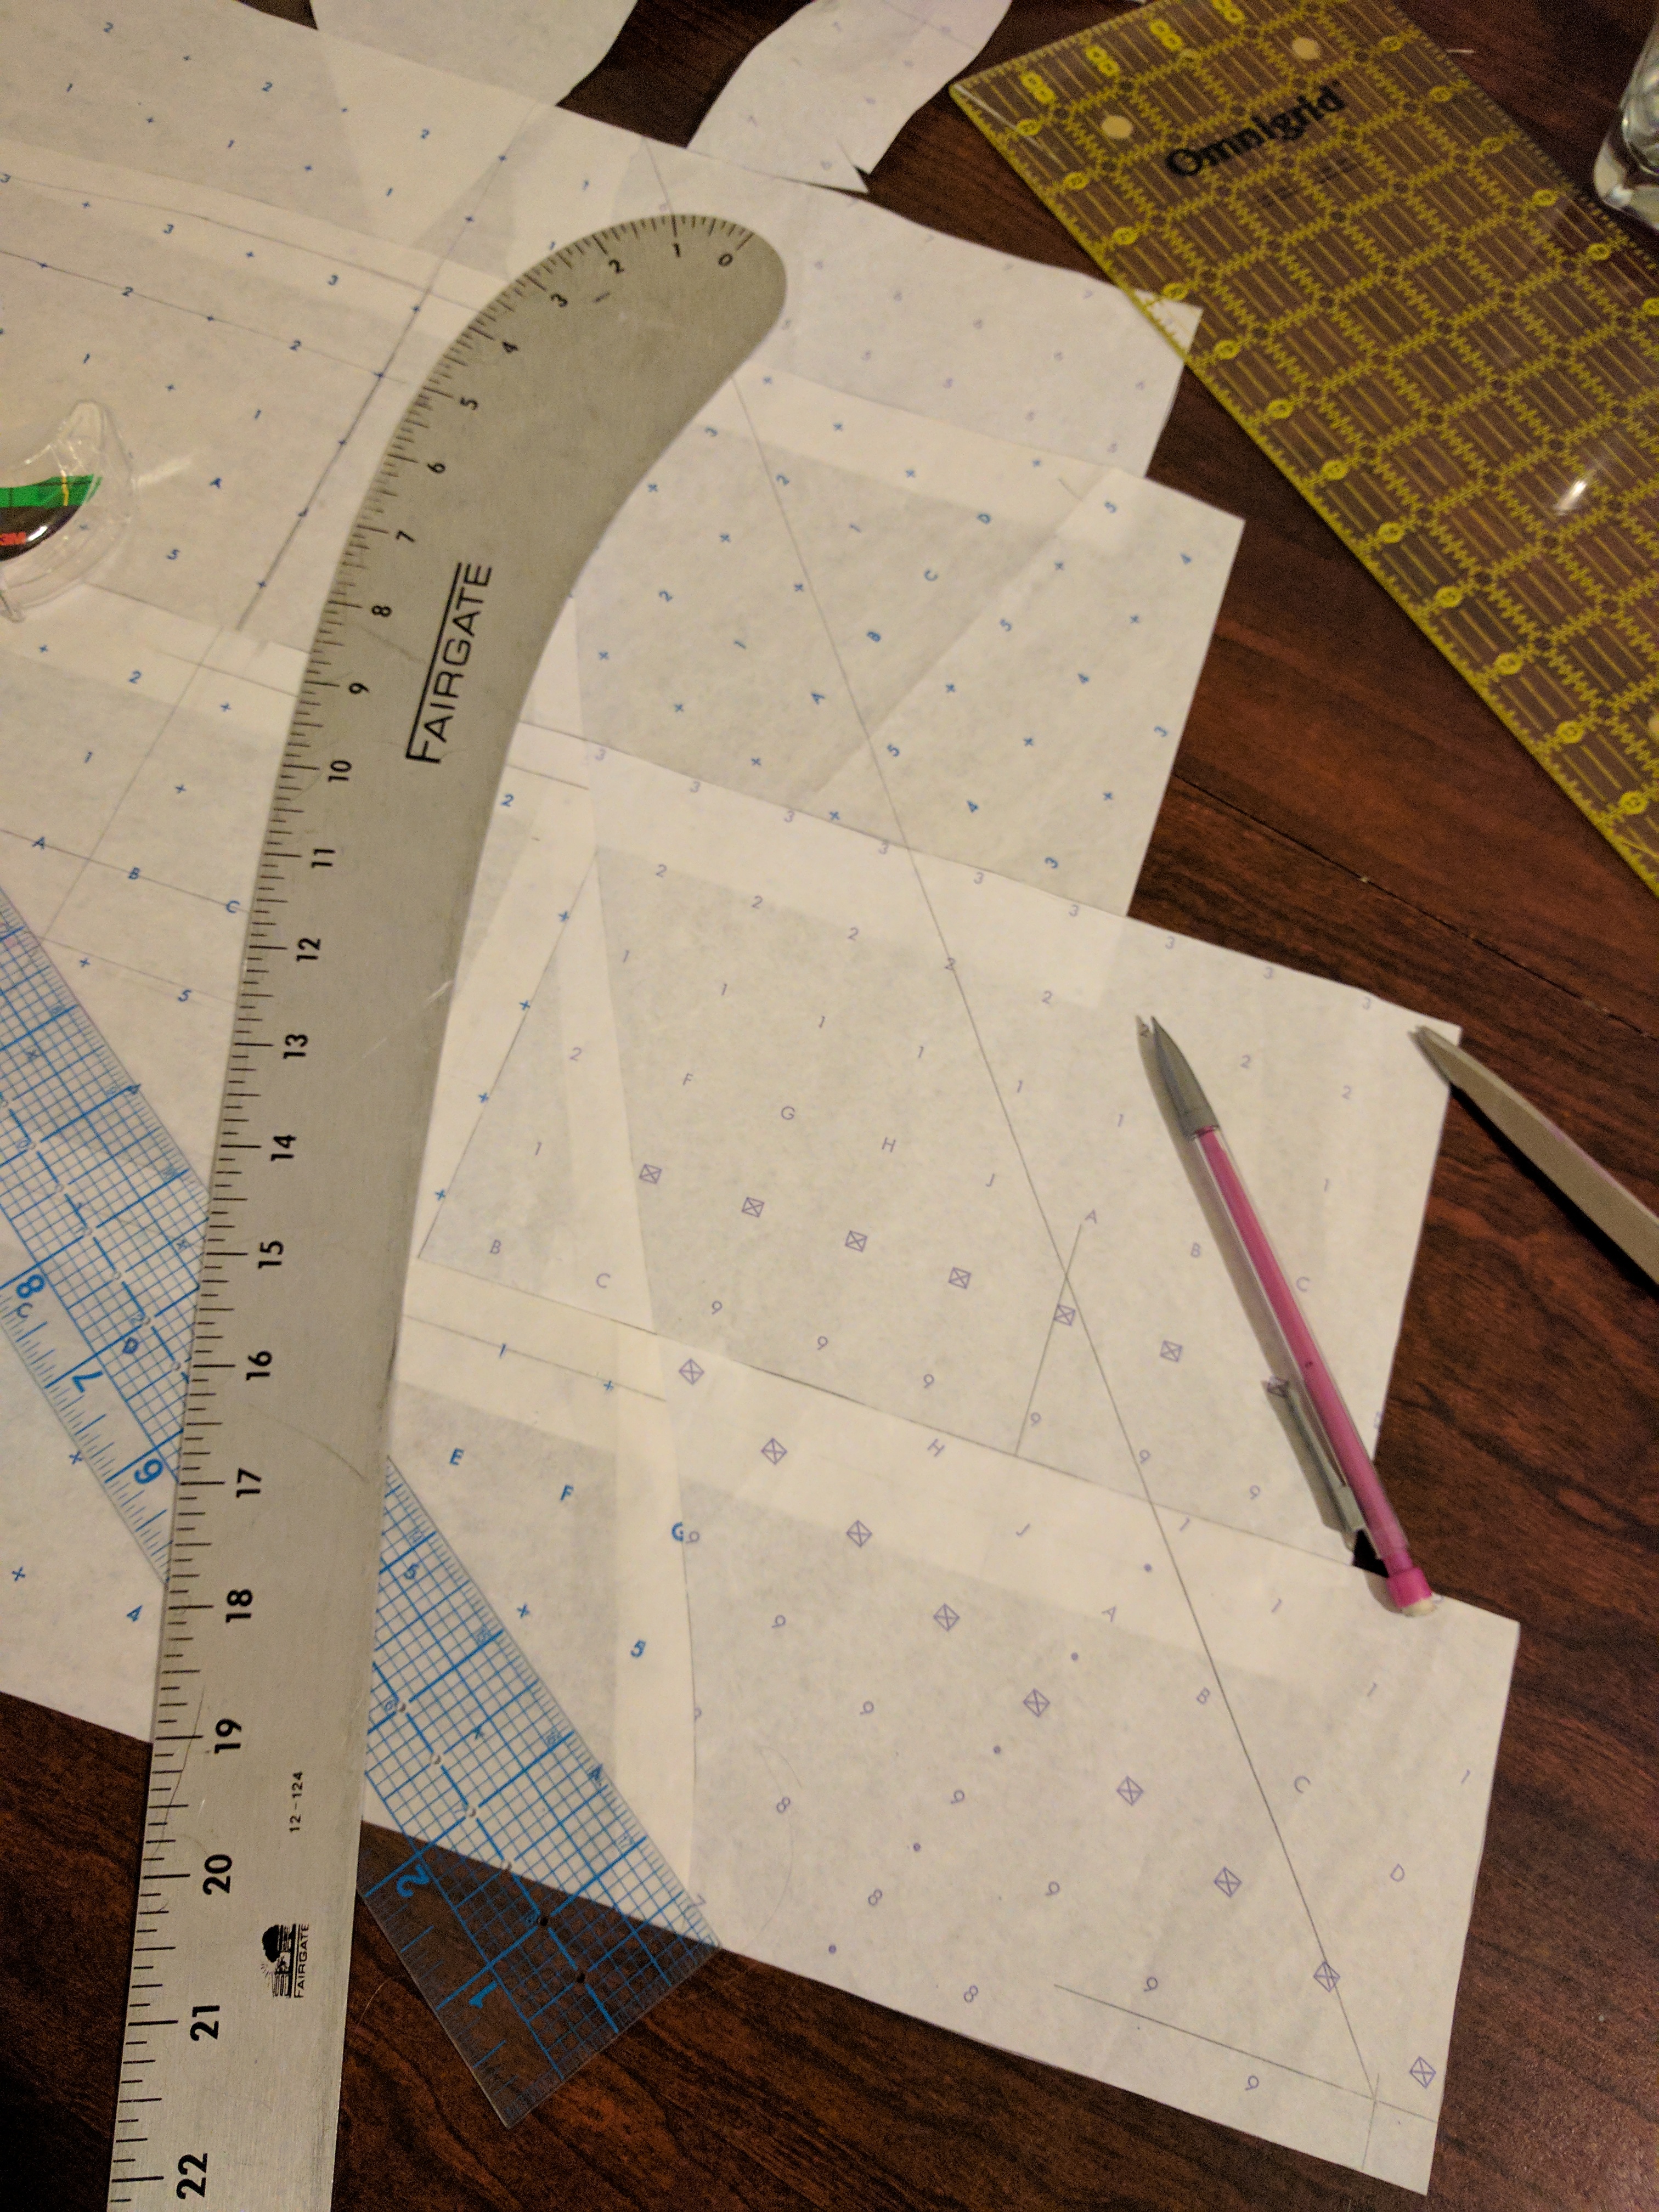
First, I taped the bottom edge of my pattern to a piece of paper. I use pattern paper, but if you prefer to use newspaper or tissue paper, that works too. Hell, if you’re really in a pinch you can even use taped up pieces of notebook or computer paper.

Next, I extended the seam lines of my pattern and squared off a temporary hemline about six inches down from the longer side of the pattern. Even though I only really need to lengthen the back, that changes the curve of the entire hemline so I’m adding some length to all of my patterns.
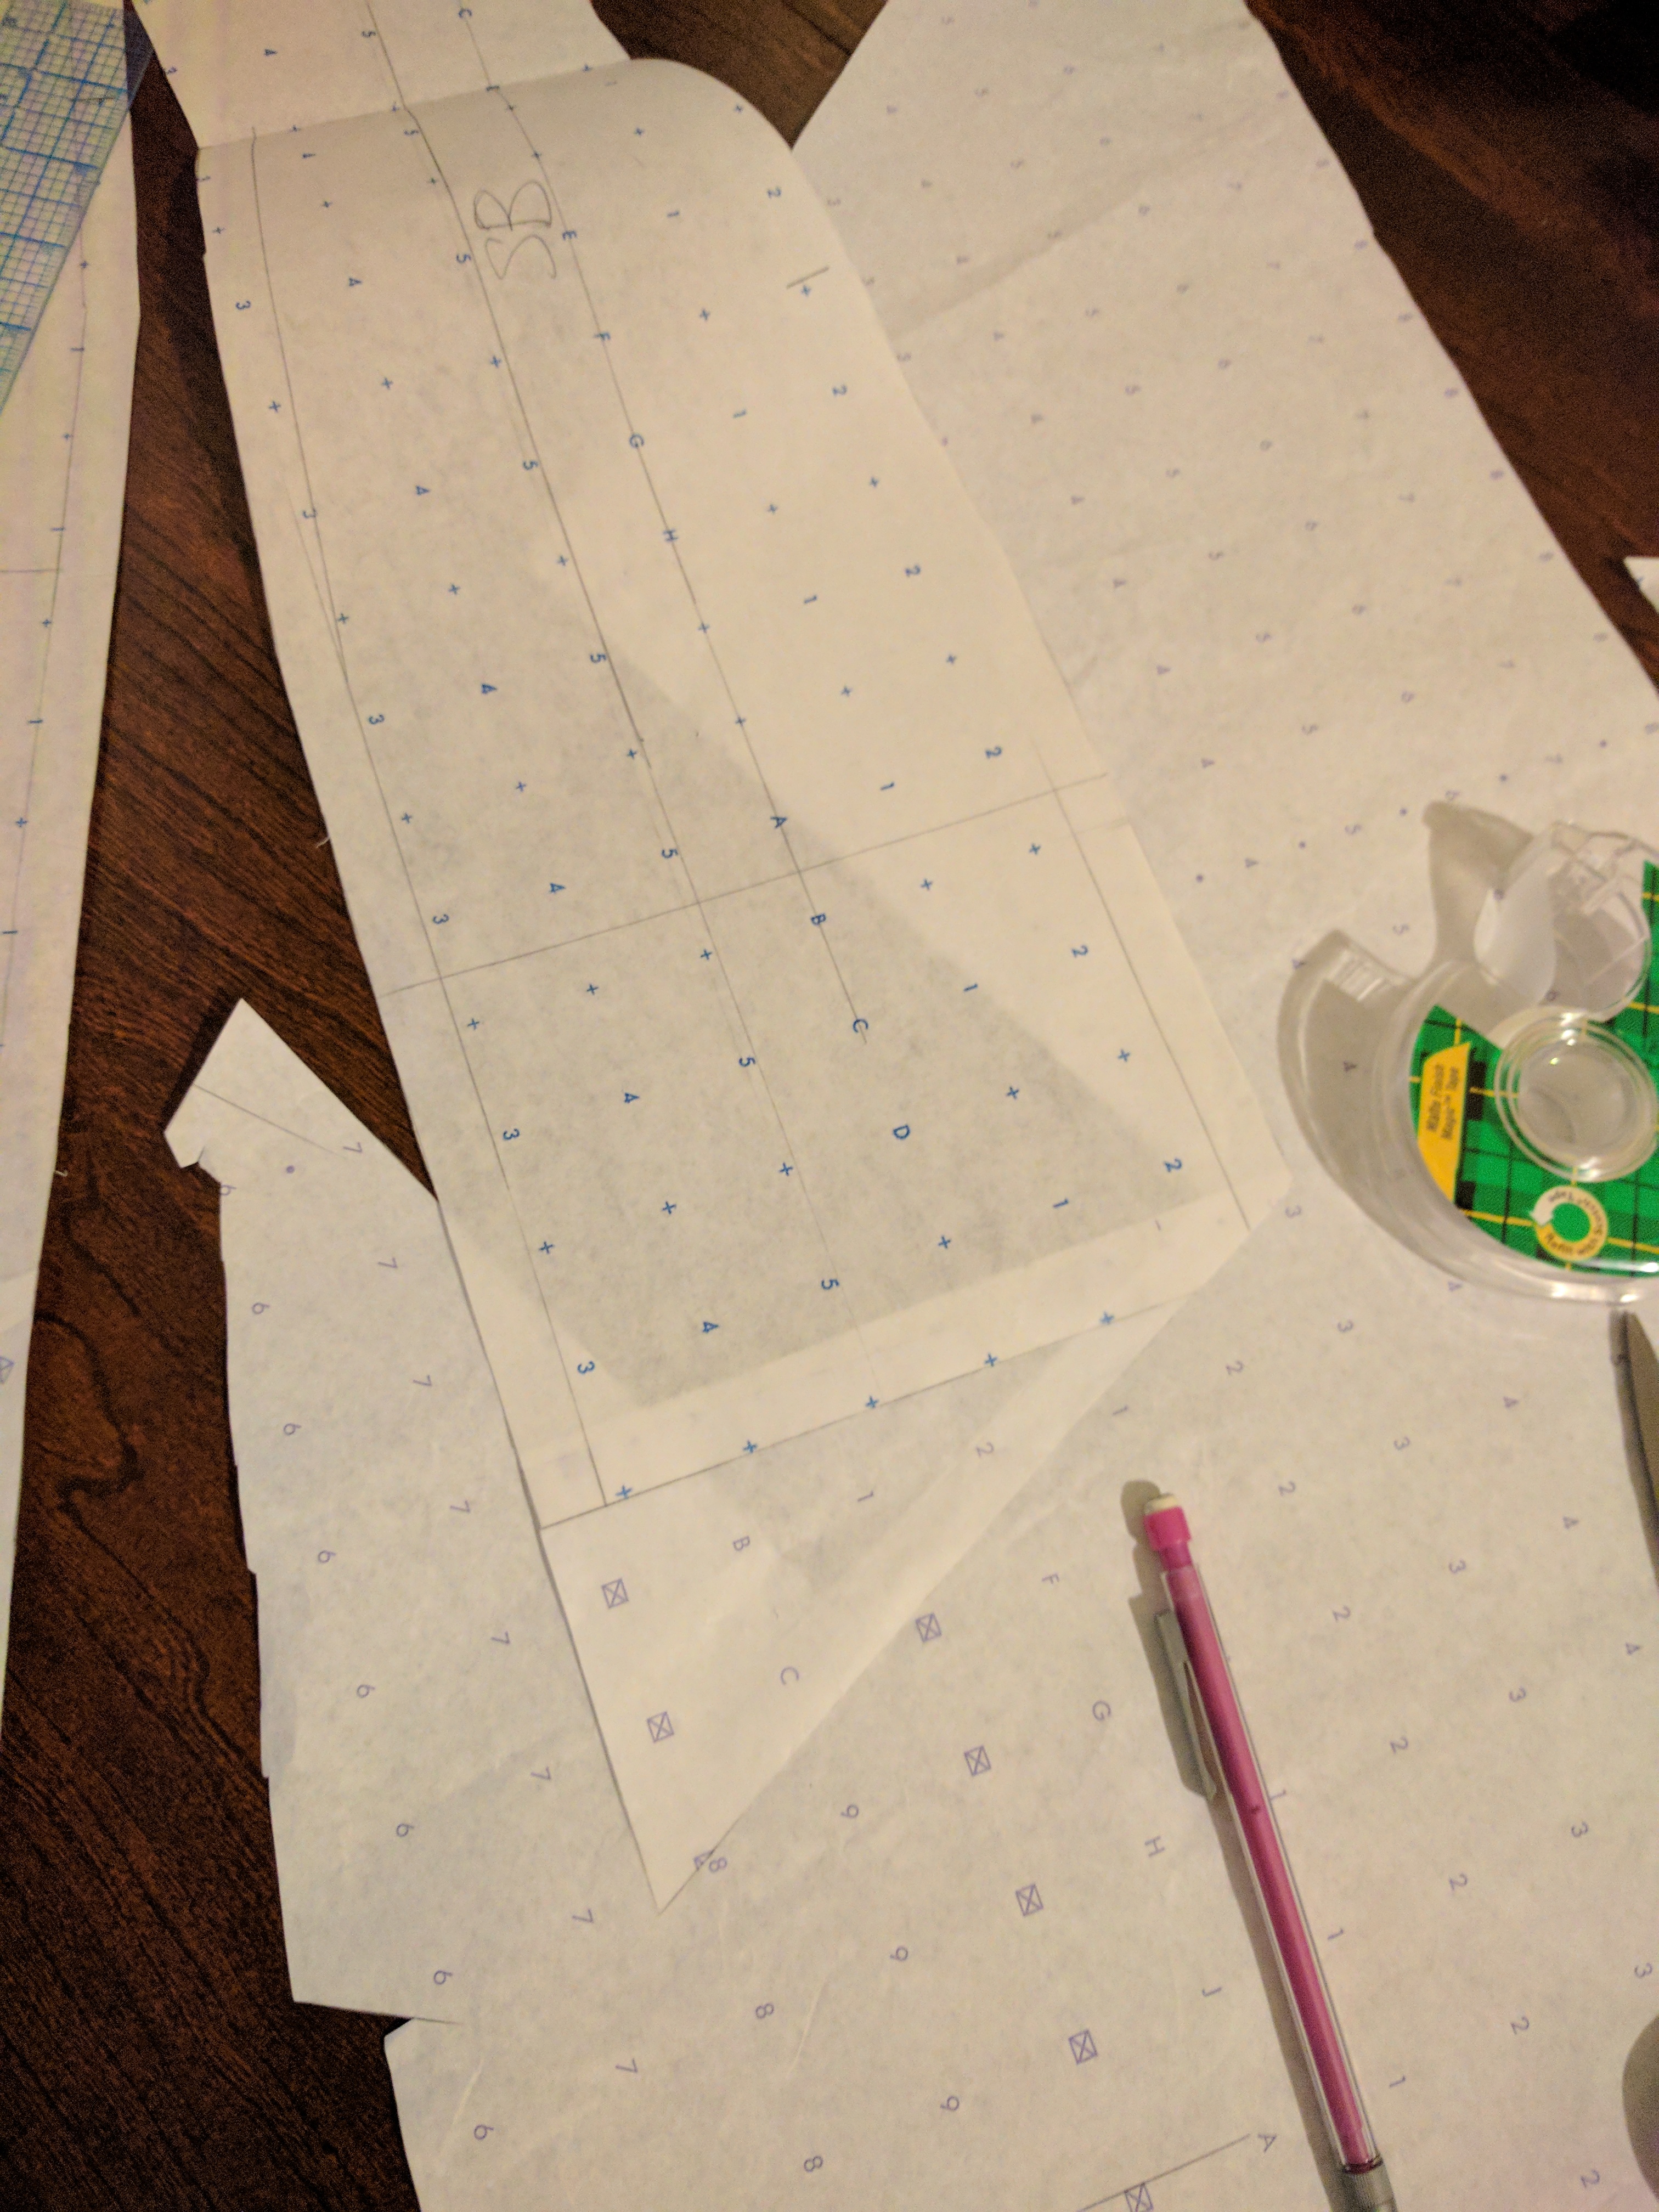
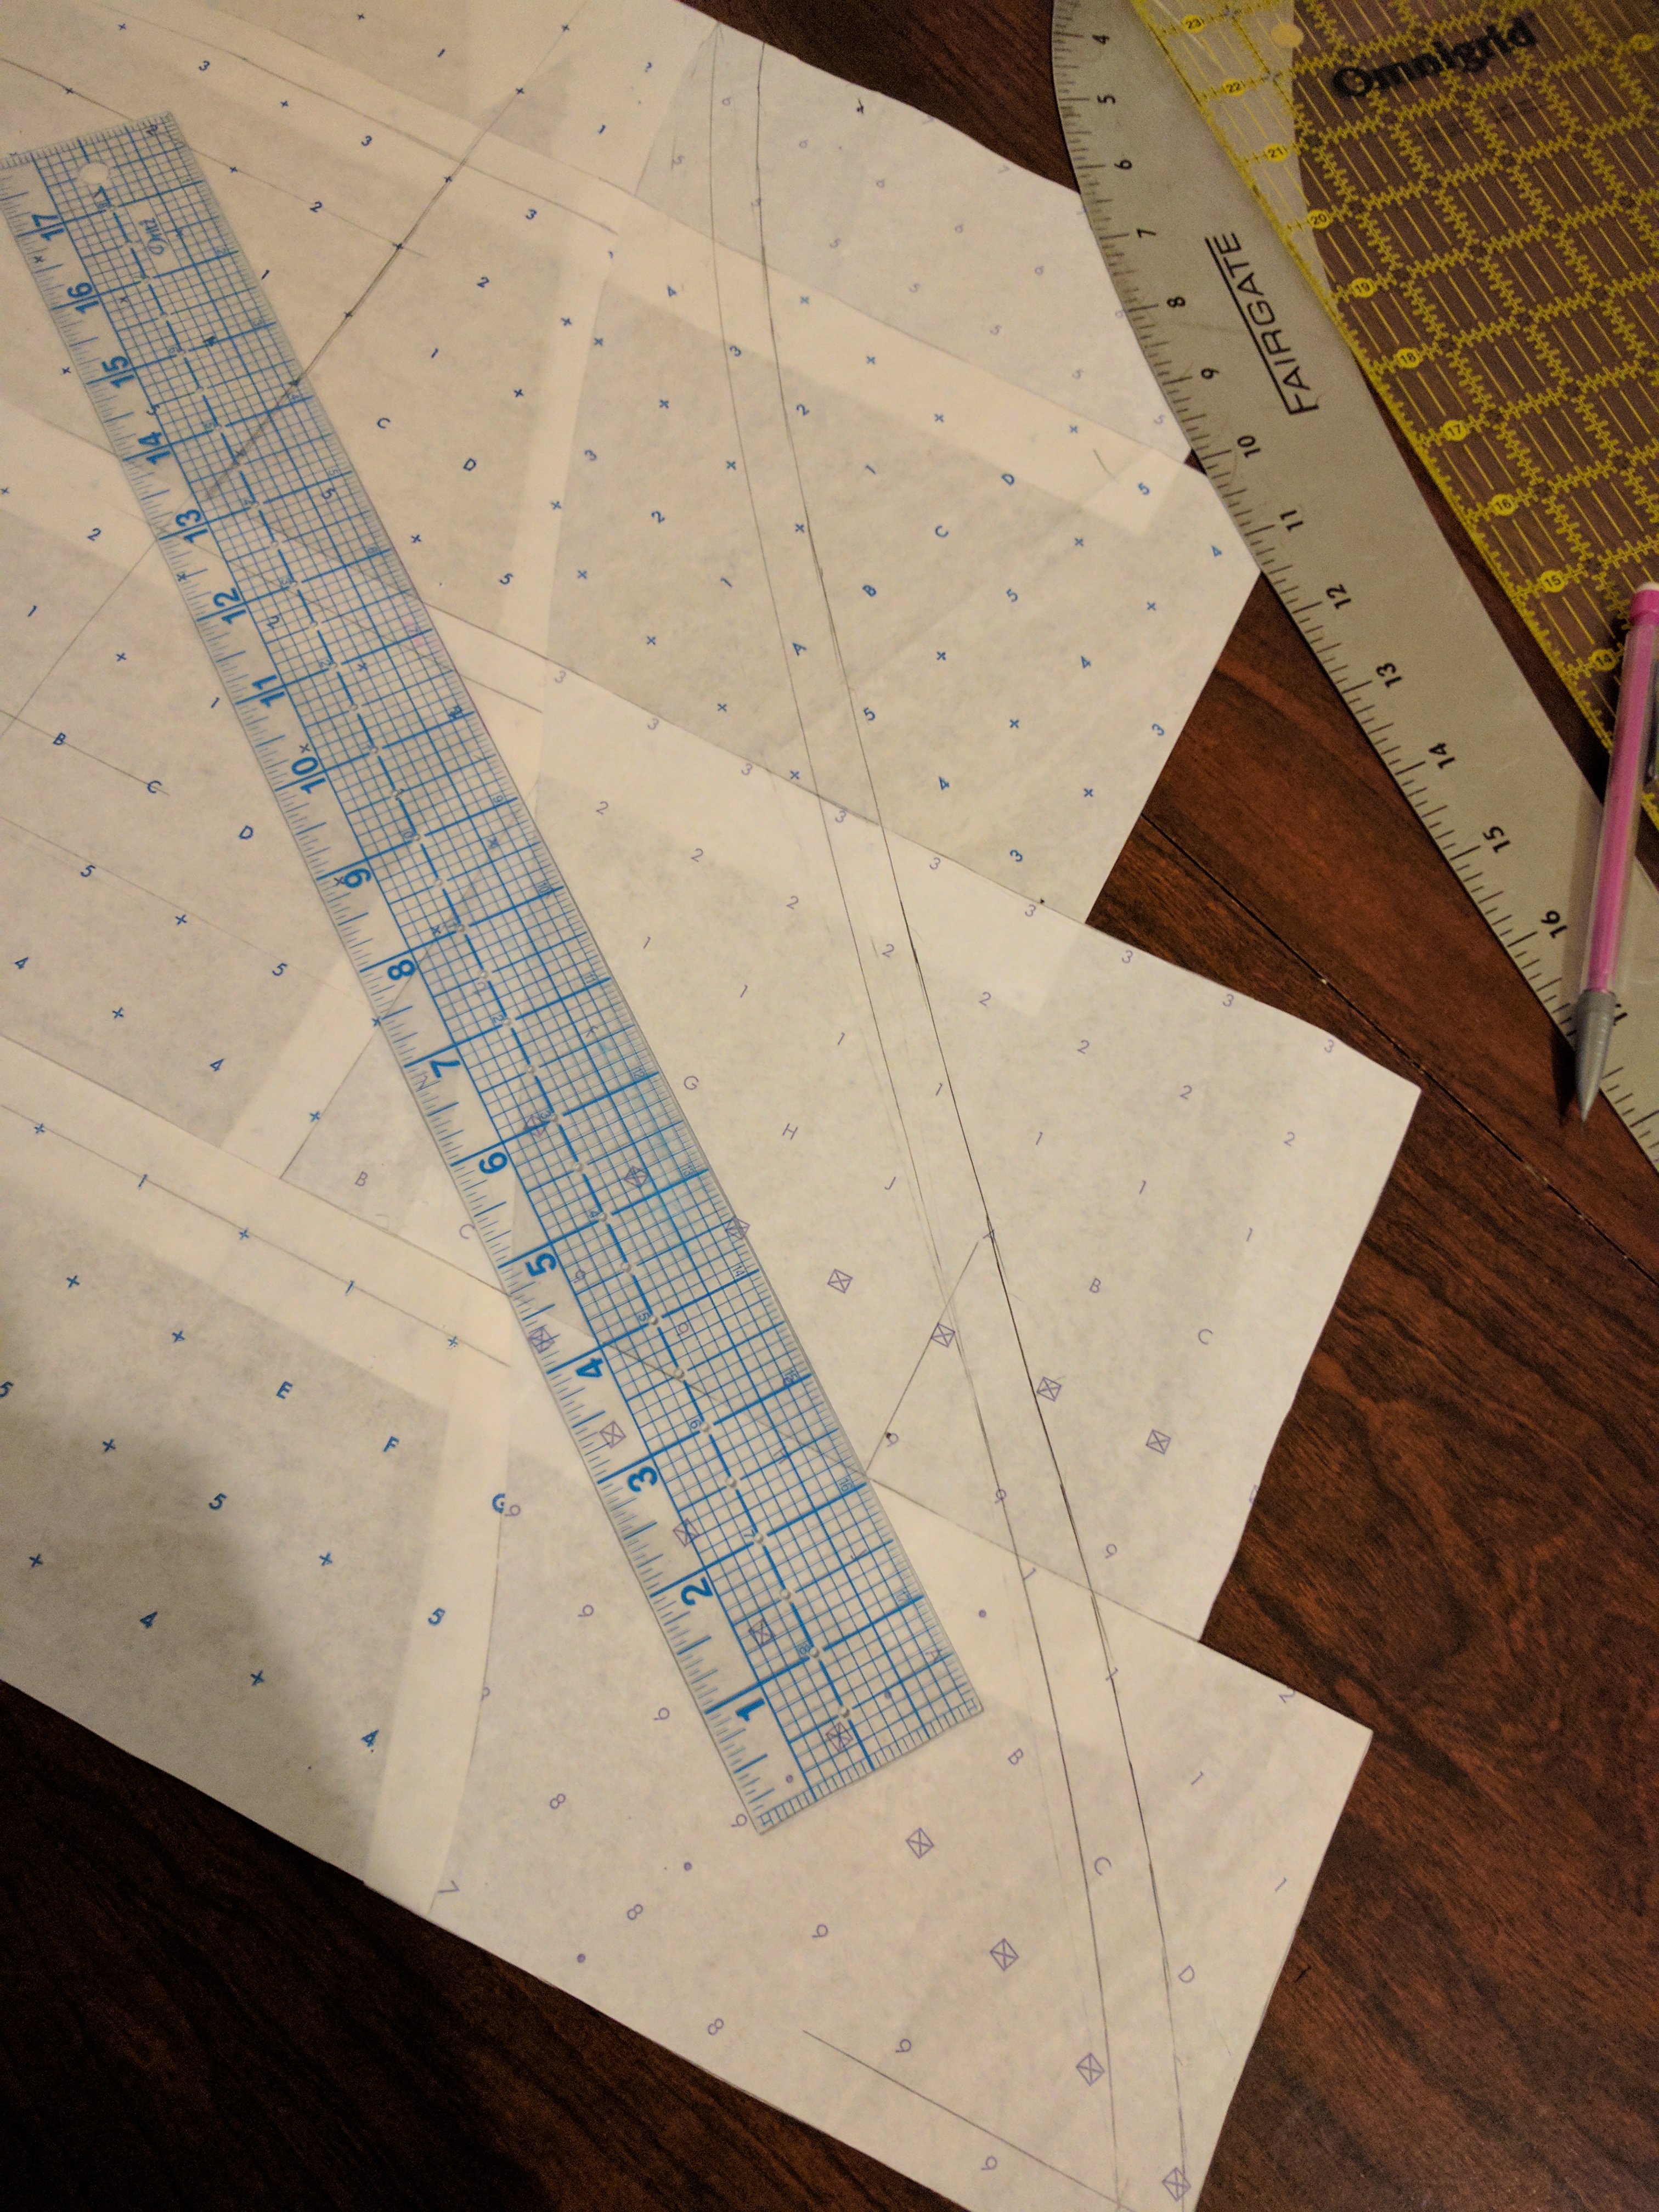
After I lengthened all of my patterns, I matched them up at the original hemline and taped them together at the seam lines. Do NOT tape the cut edges together; the seams won’t match up when you sew them together later.
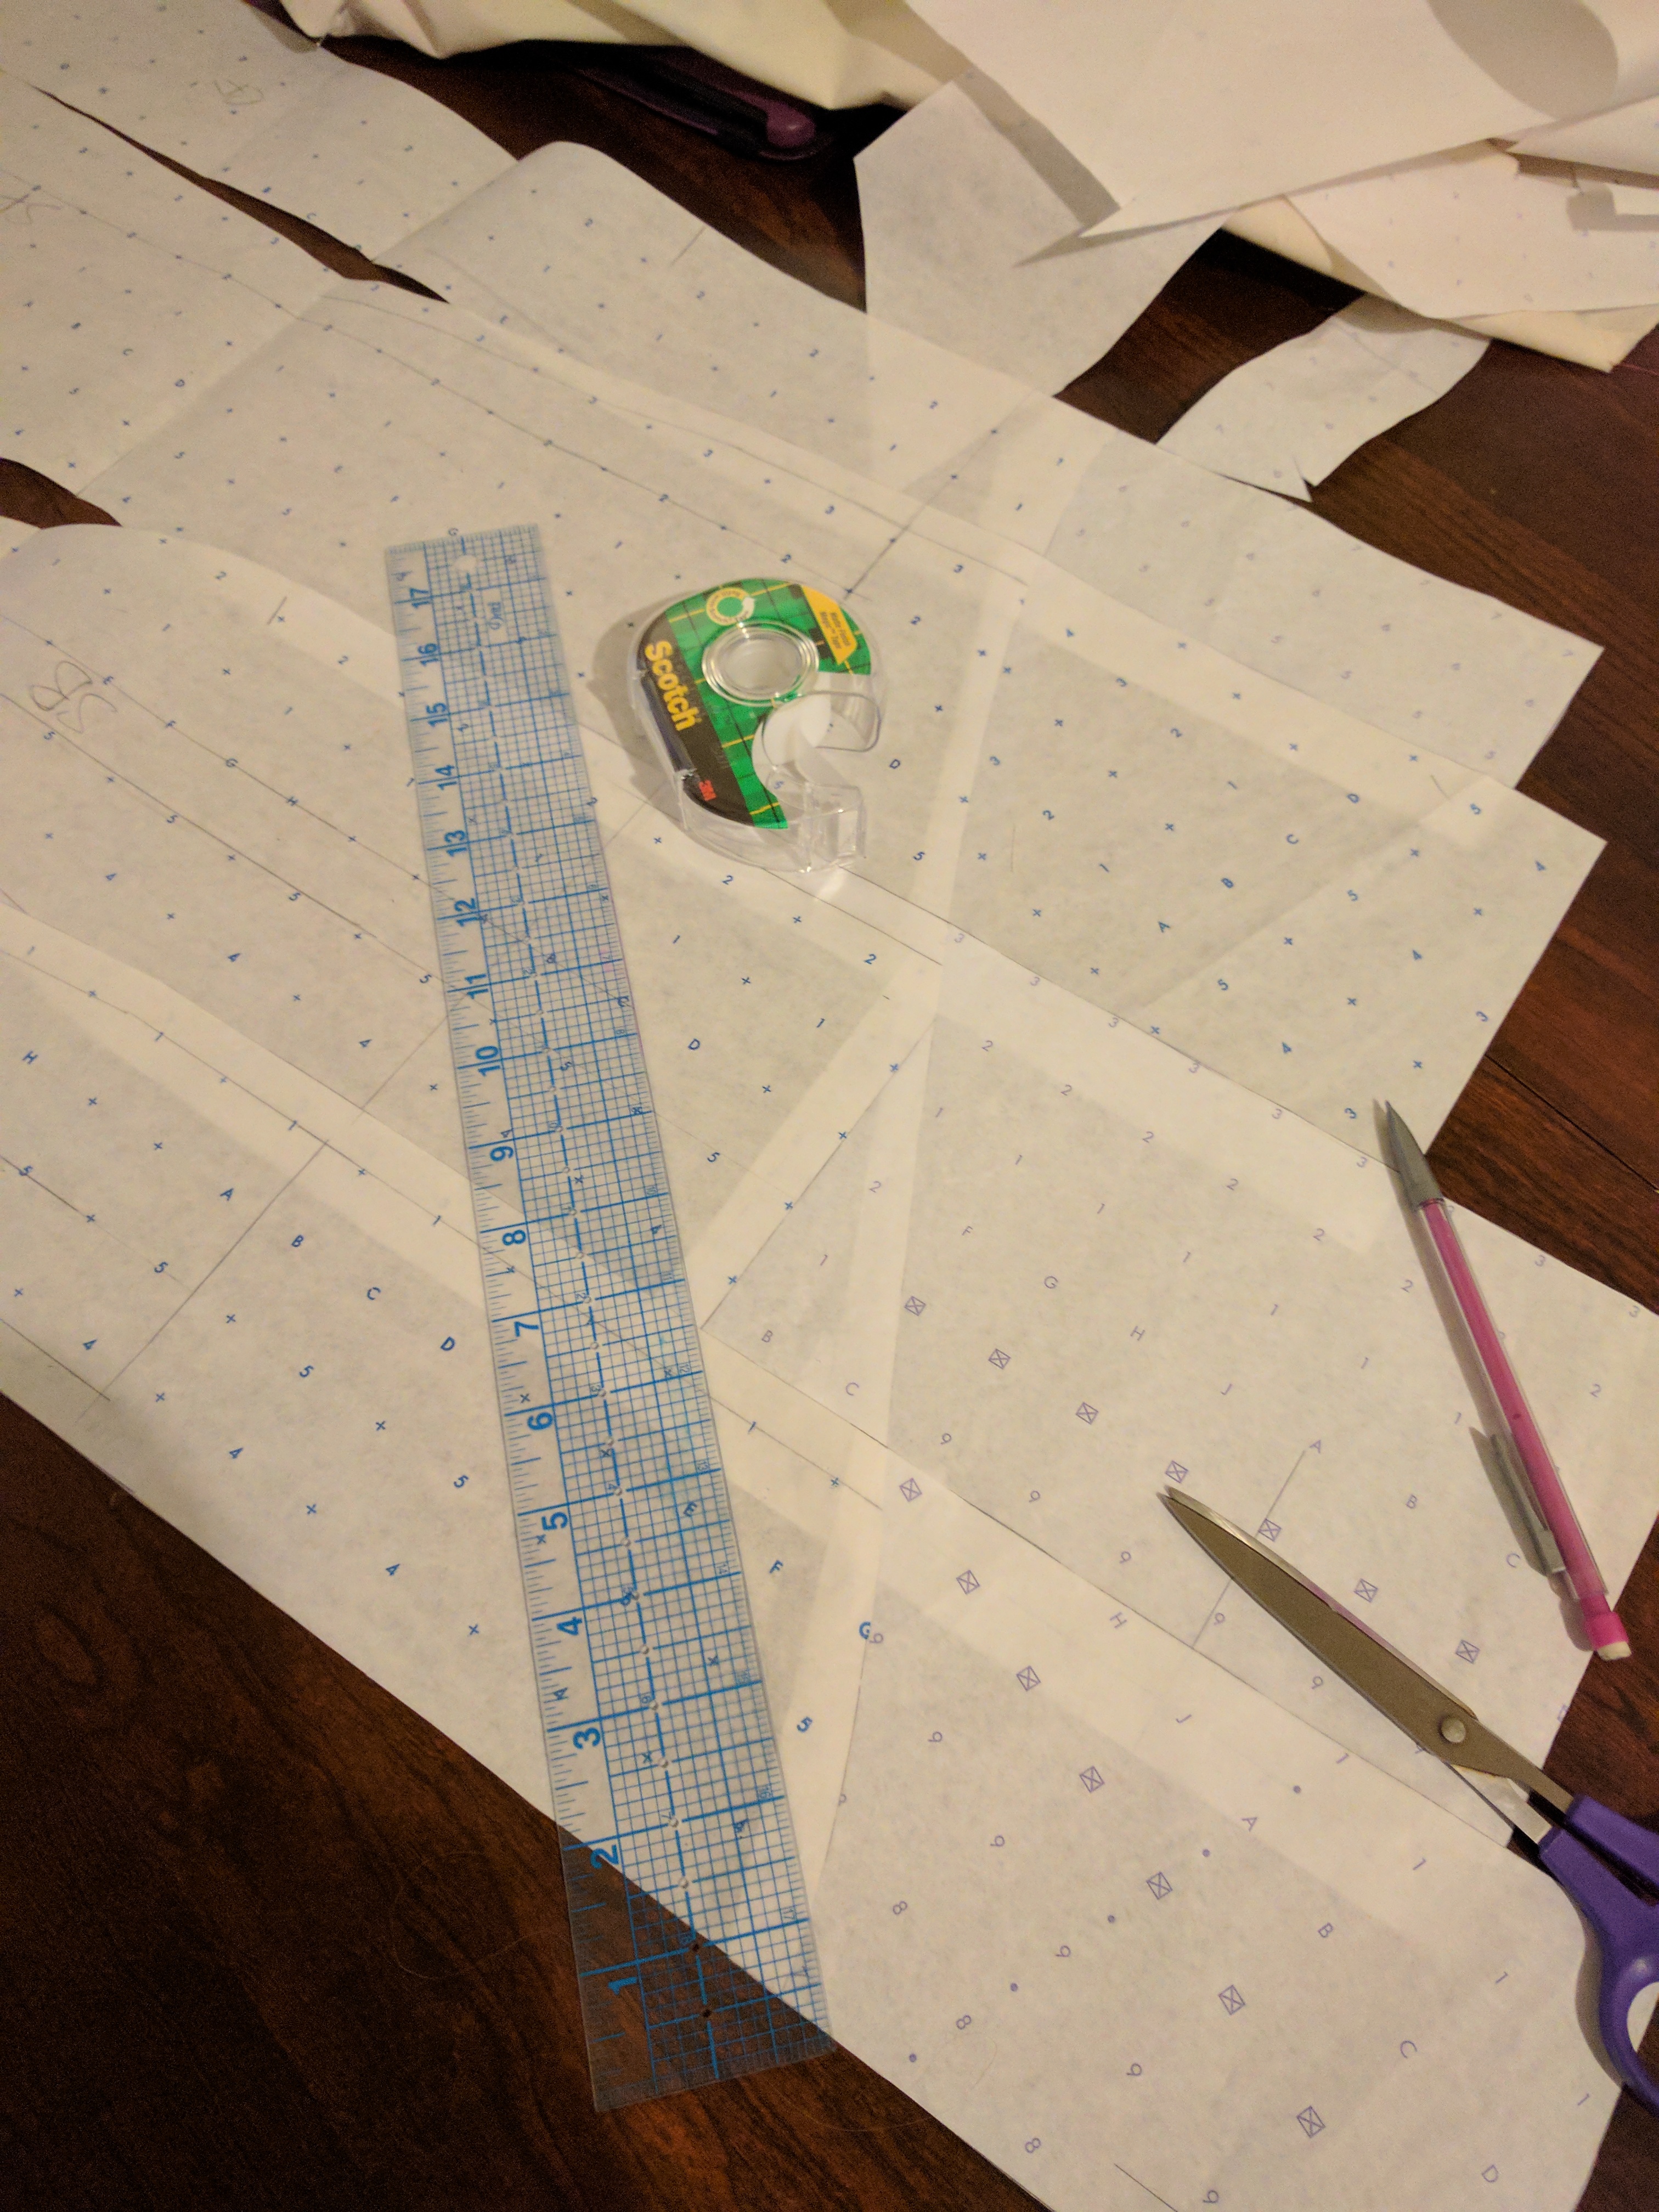
Using my trusty ruler, I drew a line across all of my pattern pieces from my new back hem length to my original center front hemline. This is why I needed to lengthen each piece.
I don’t want a really straight edge on the hem, so I gave it a gentle curve and added seam allowance. I didn’t show this step, but afterwards I cut through all of the patterns along the new hemline and removed the tape.
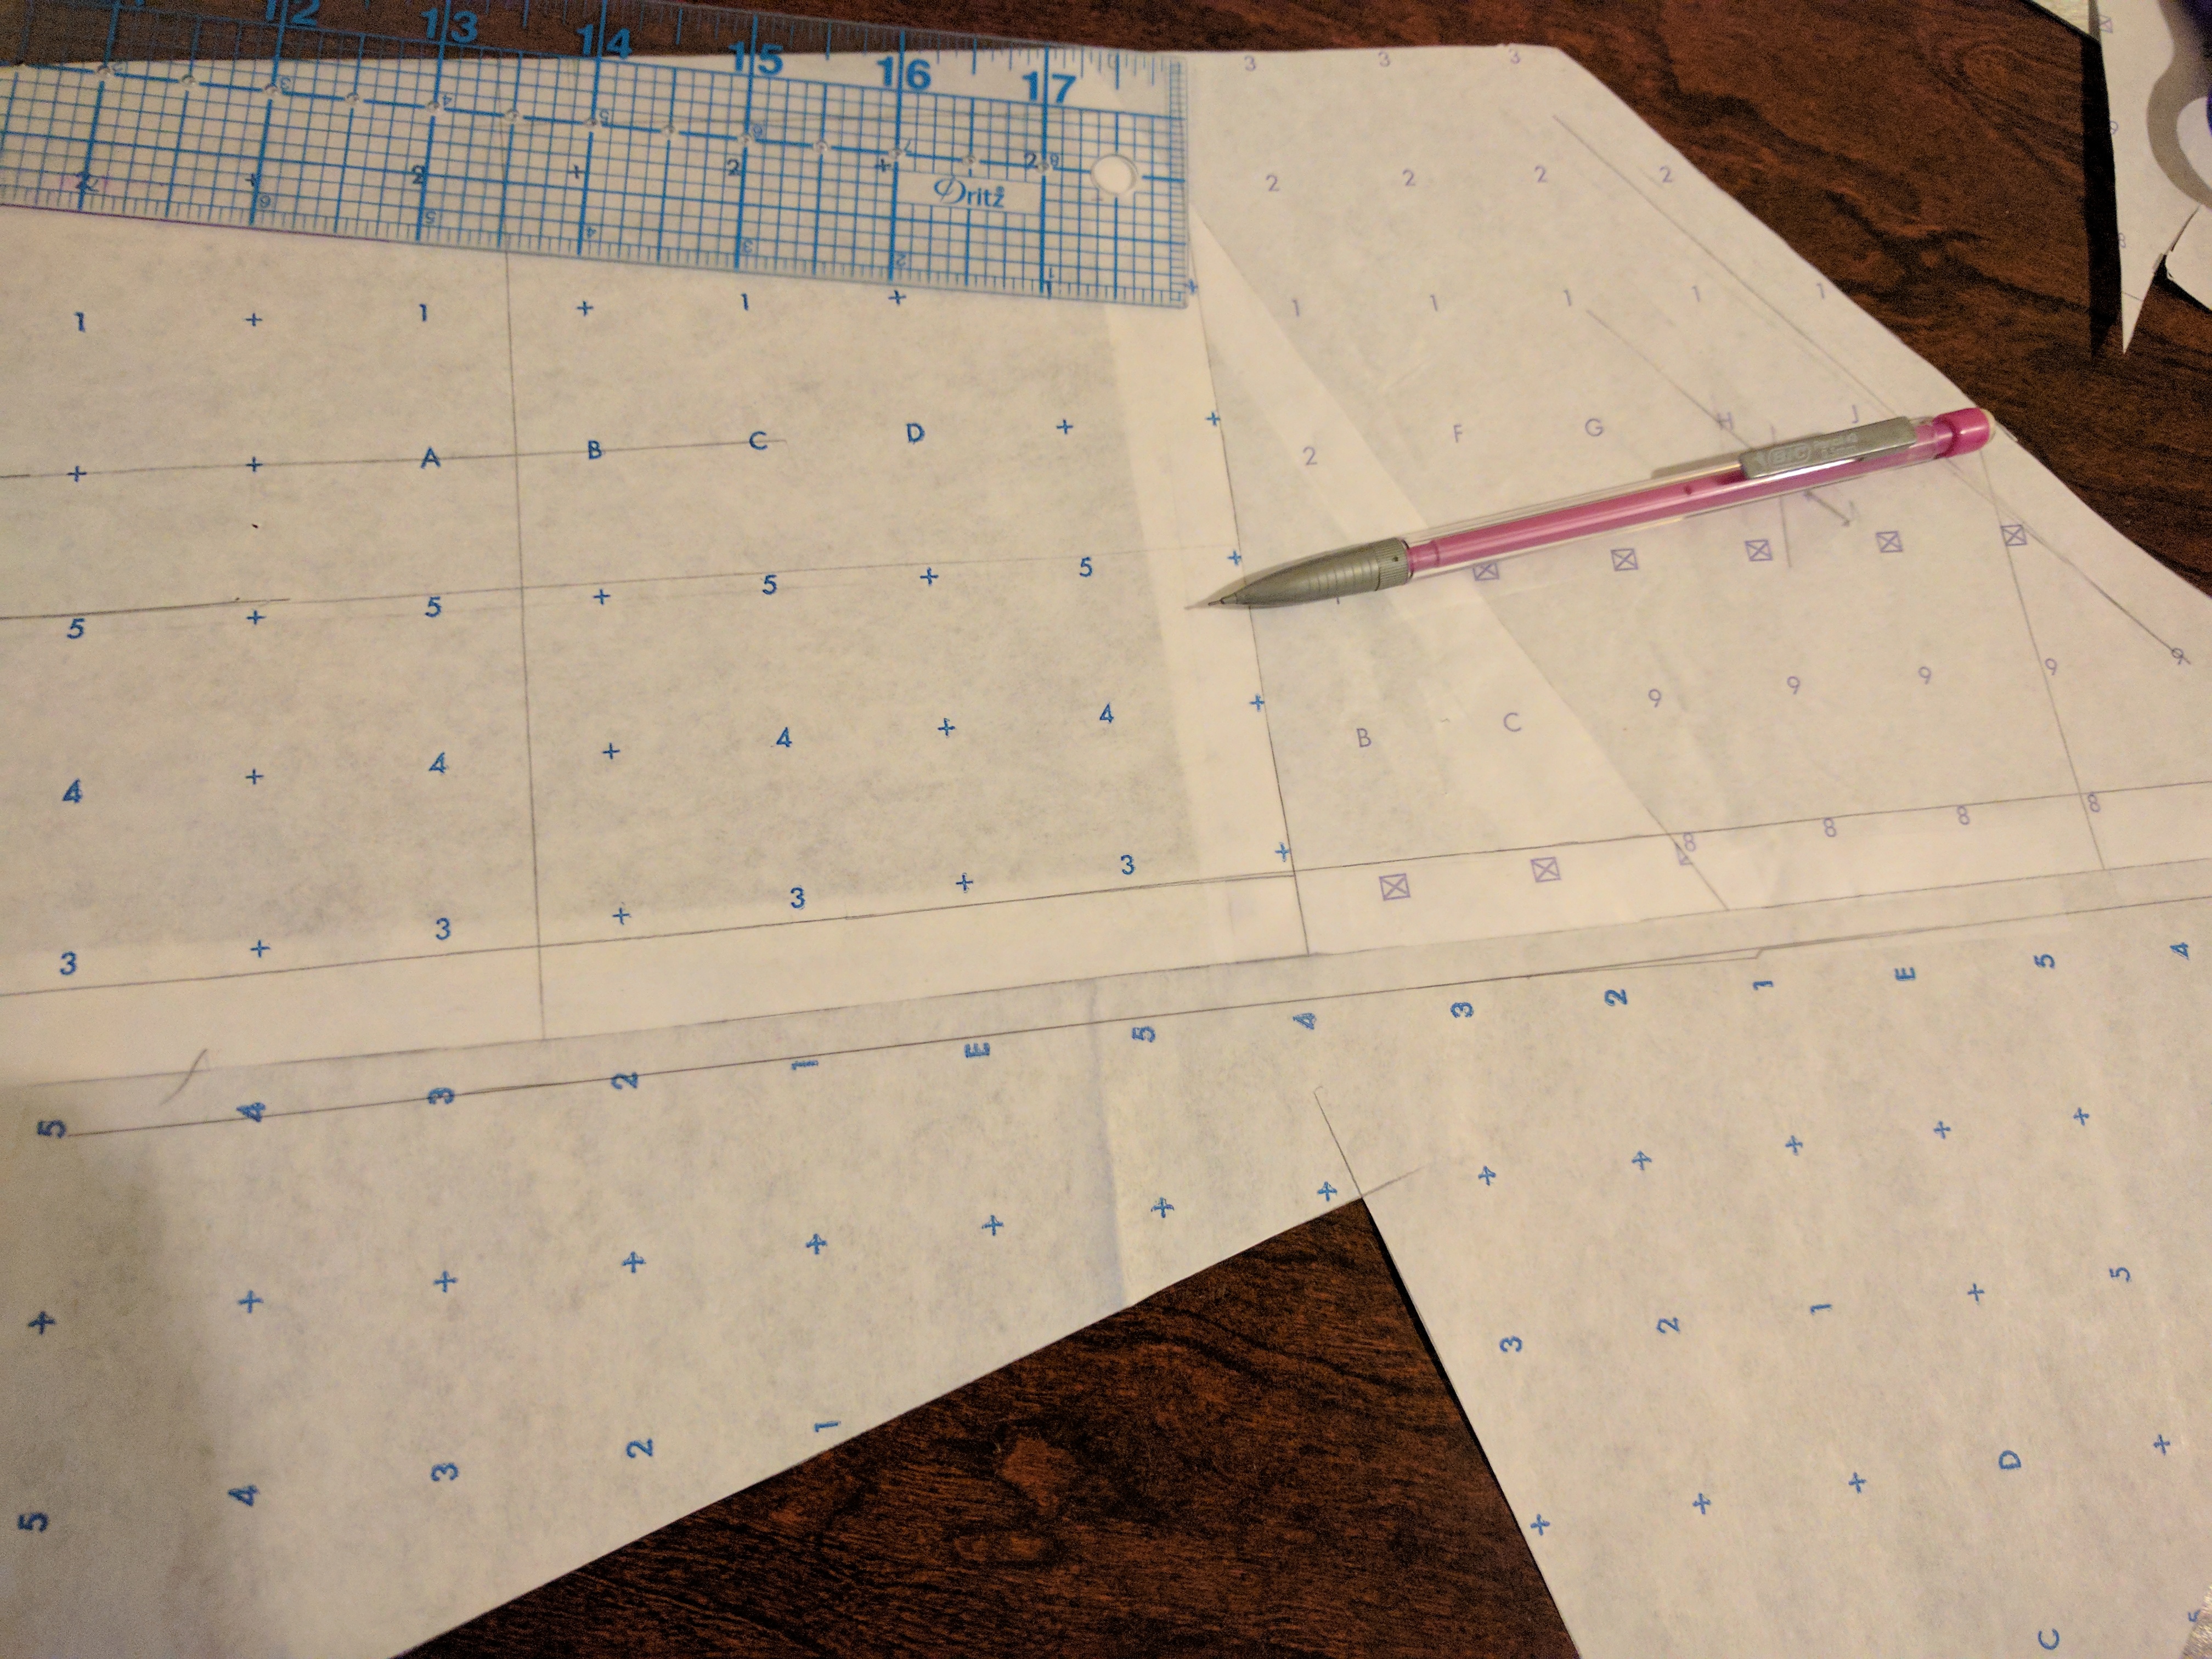
The same concept applies to taking in or letting out a seam. Here I added 1/4″ to the back princess seam on both my side back and center back patterns and blended the new line into my existing hip curve.

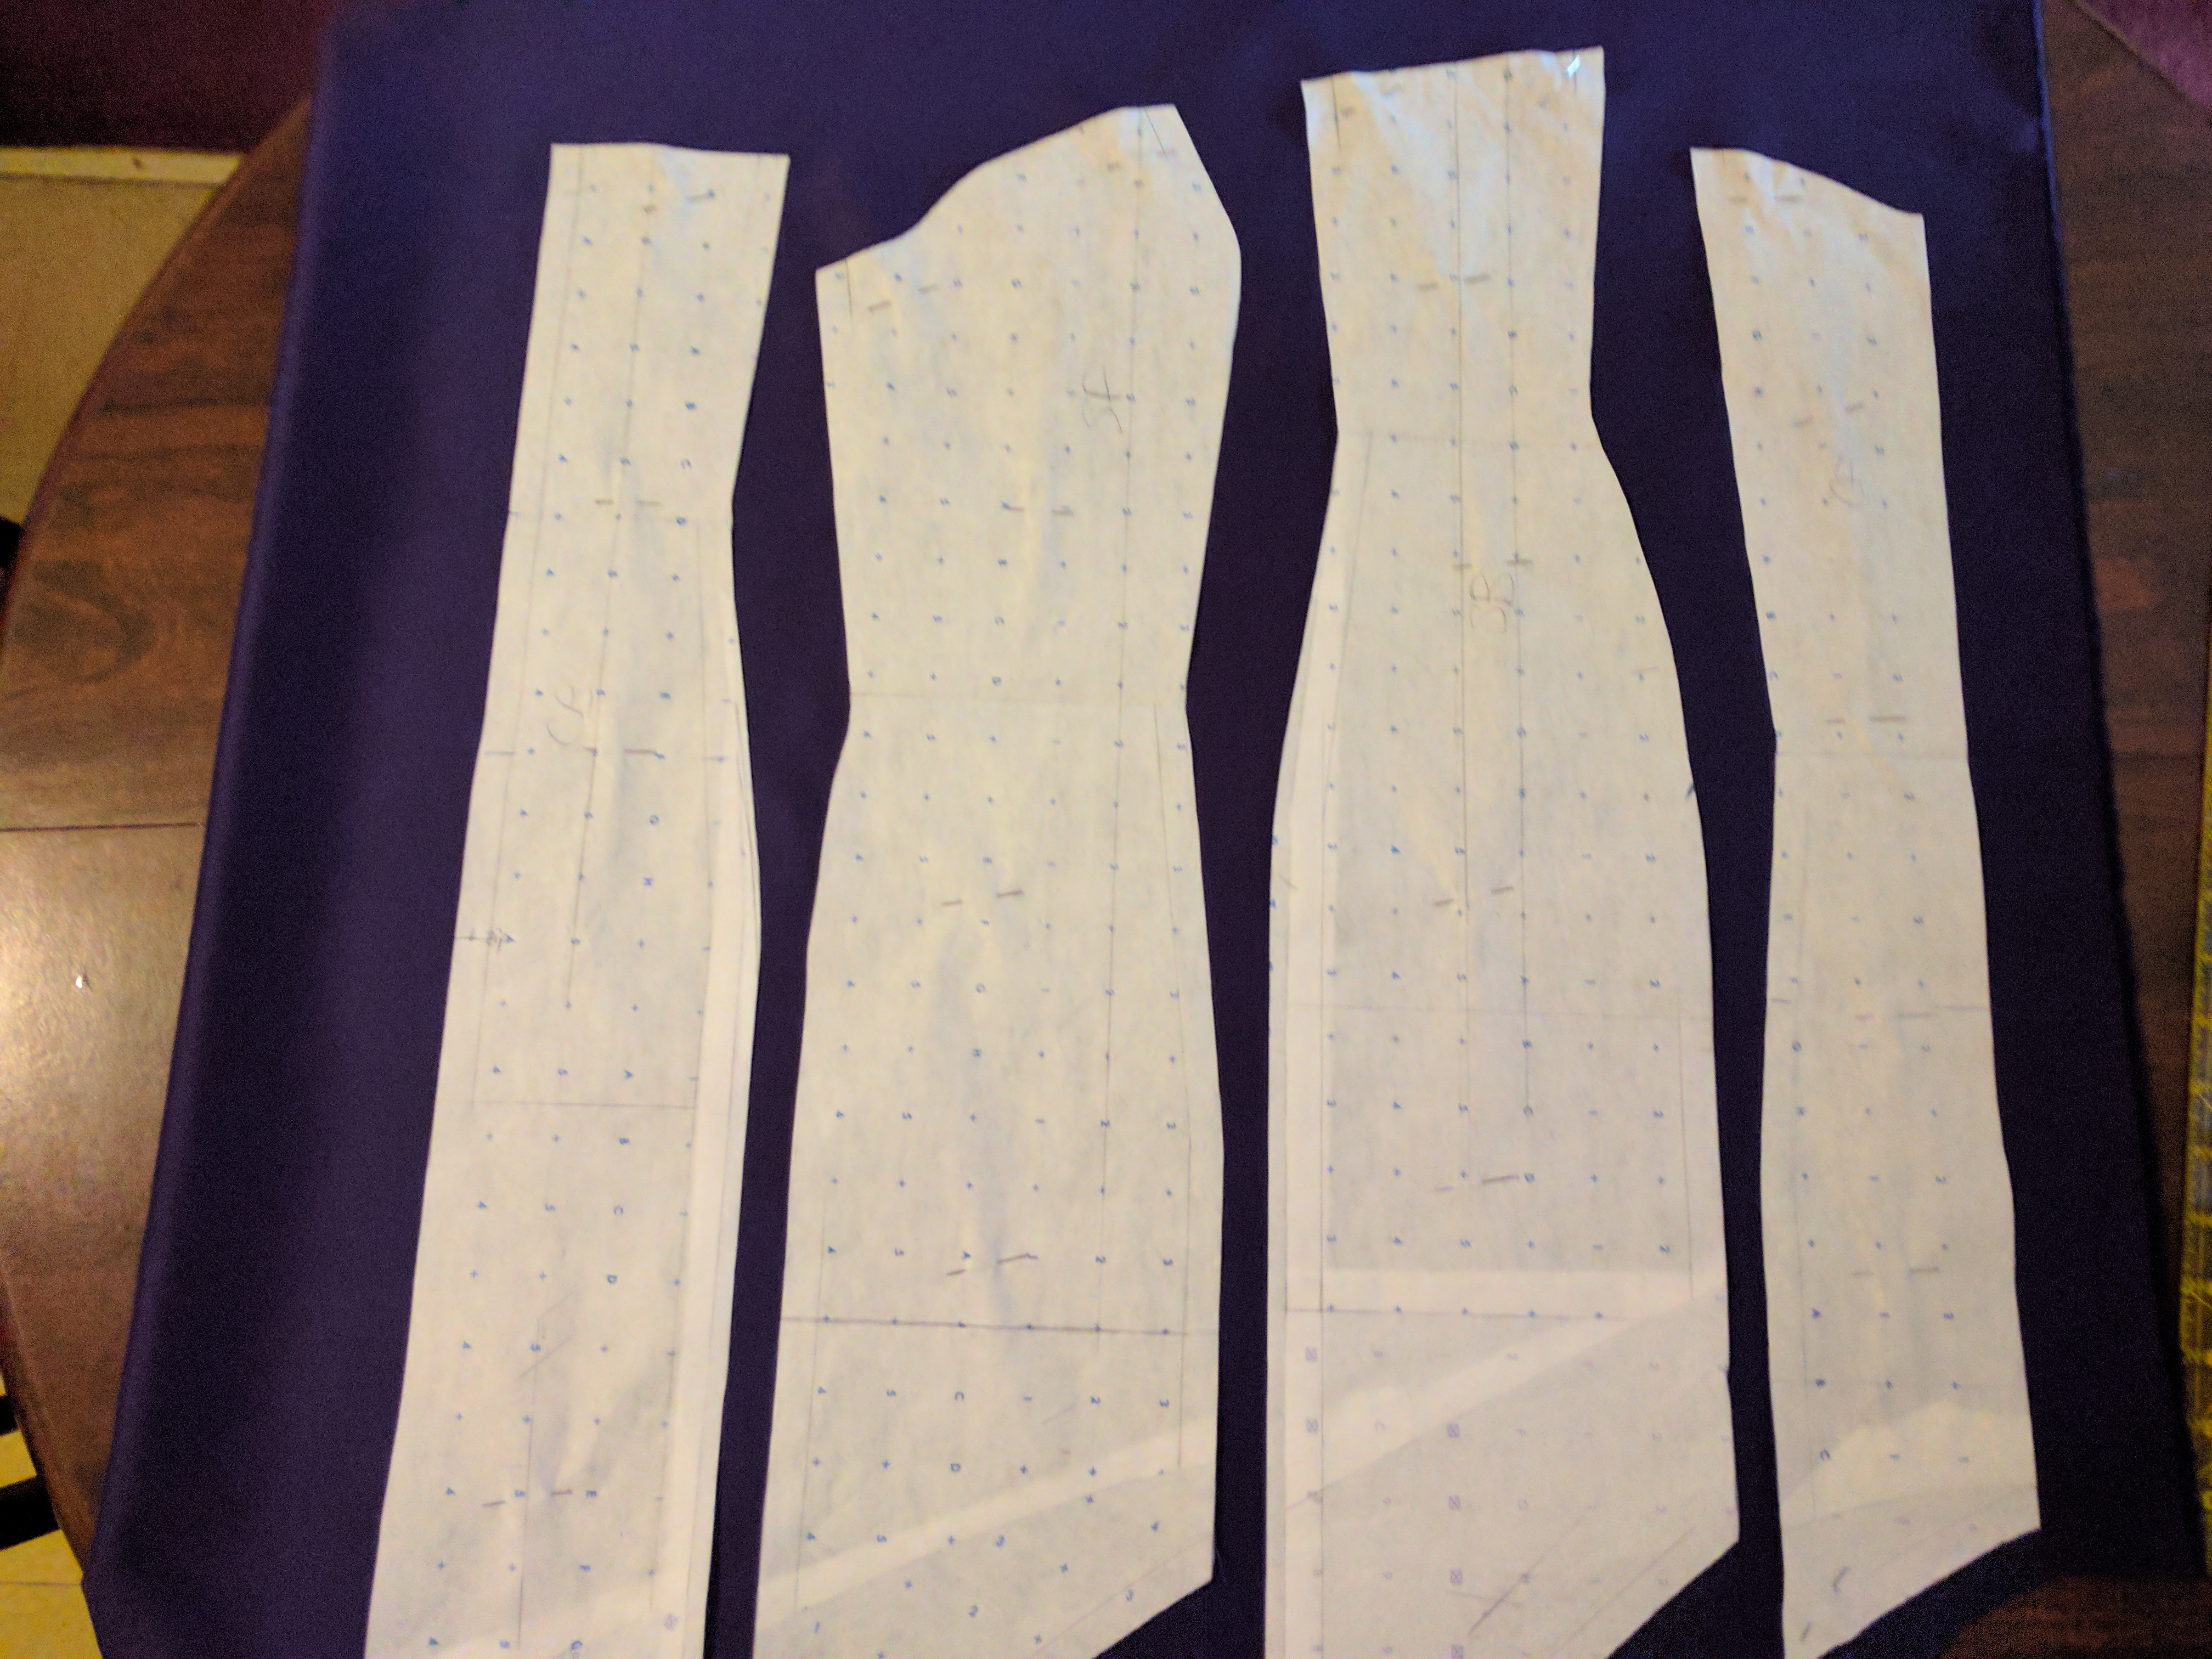
Then I trued up the two pieces by putting them together and making sure the seams matched up.

The neckline of my original pattern was too high. Here I basically reversed the hem-lengthening process to lower it by about 1.25″.
Bring on the Satin!
I’d always recommend making a second mockup if you have to make major alterations. This time I decided it wasn’t necessary. We’ll see how that works out. 😊

I didn’t take any pictures of the initial construction of the final garment, so here’s my invisible zipper progress. I’m not super confident in my zipper setting skills, so I basted my invisible zipper by hand to make sure it stays in place. I’m planning to stitch the zipper in tomorrow. Hopefully it’ll work out!
Leave a Reply